
I. PURPOSE
Step-by-step guide for restaurant managers to set up the menu using two methods: Importing from Excel and Manual Entry.
II. TUTORIAL VIDEO
Watch here: https://www.youtube.com/watch?v=b5FxWn5mHcI&list=PL8vytpnSLC8nOGecyPnYm38QqkLso11Zy&index=2&t=13s
III. INSTRUCTION STEPS
1. Manual Entry
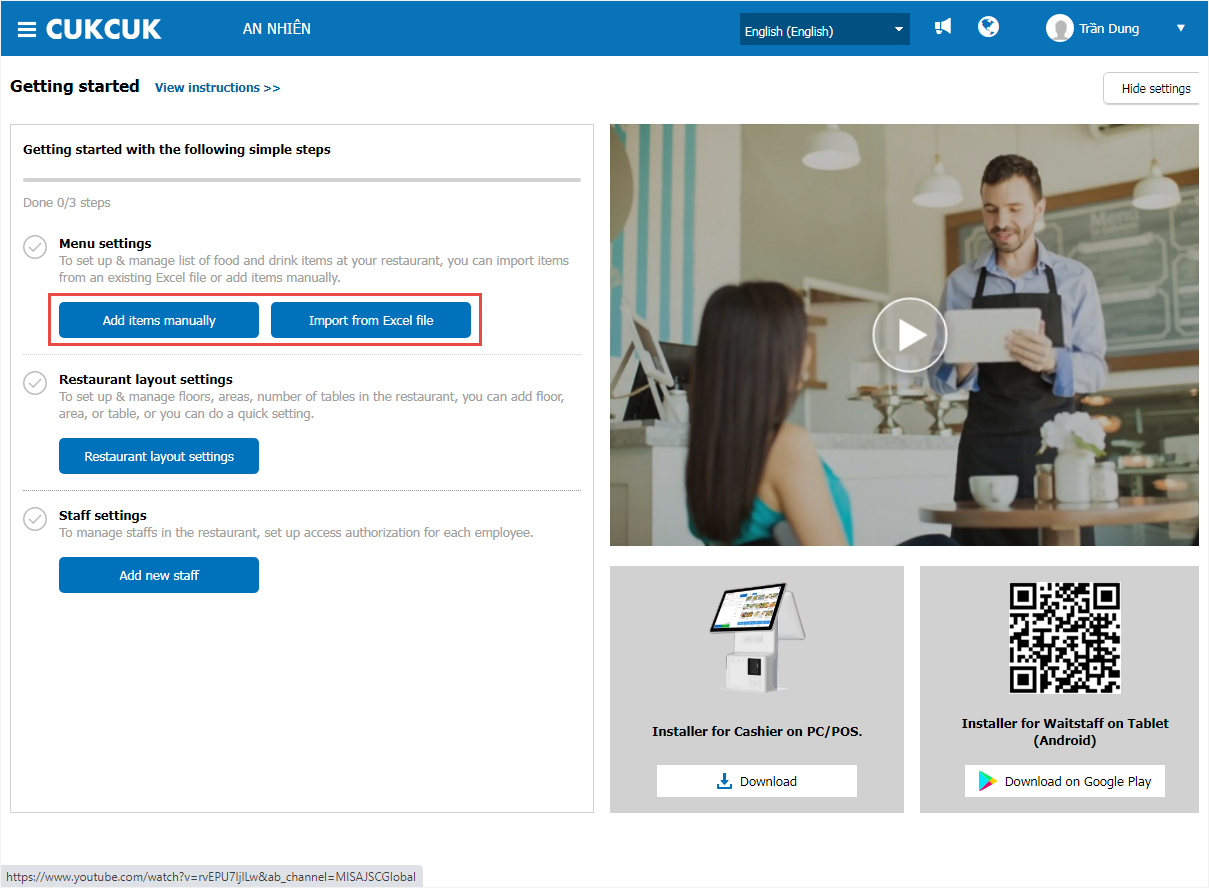
Step 1: On the getting started screen, select Add item manually.
Step 2: Click Add.
For detailed instructions on setting up specific items, please refer to the user guide sections on:
2. Import from an Excel file
TO IMPORT MENU FROM AN EXCEL FILE, FOLLOW THESE STEPS:
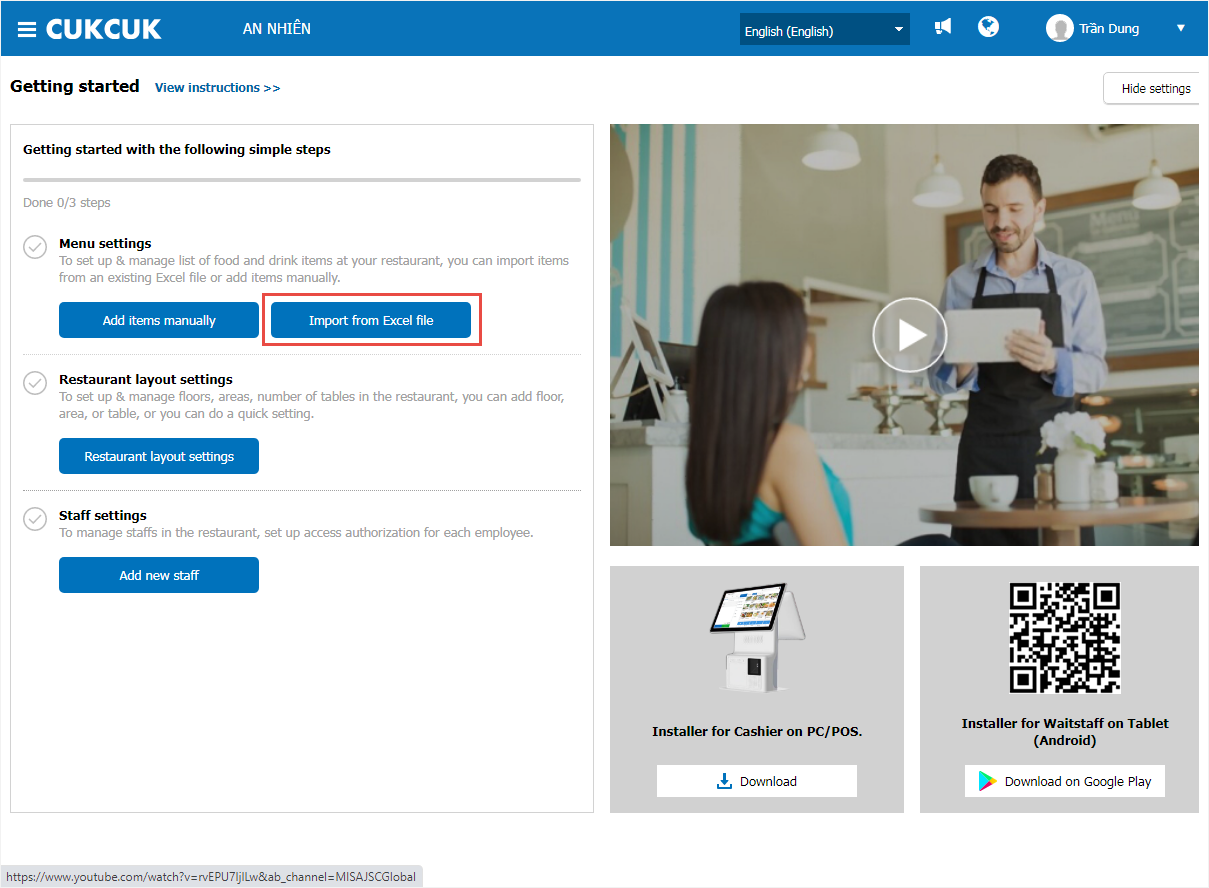
Step 1: On the getting started interface, select Import from Excel file.
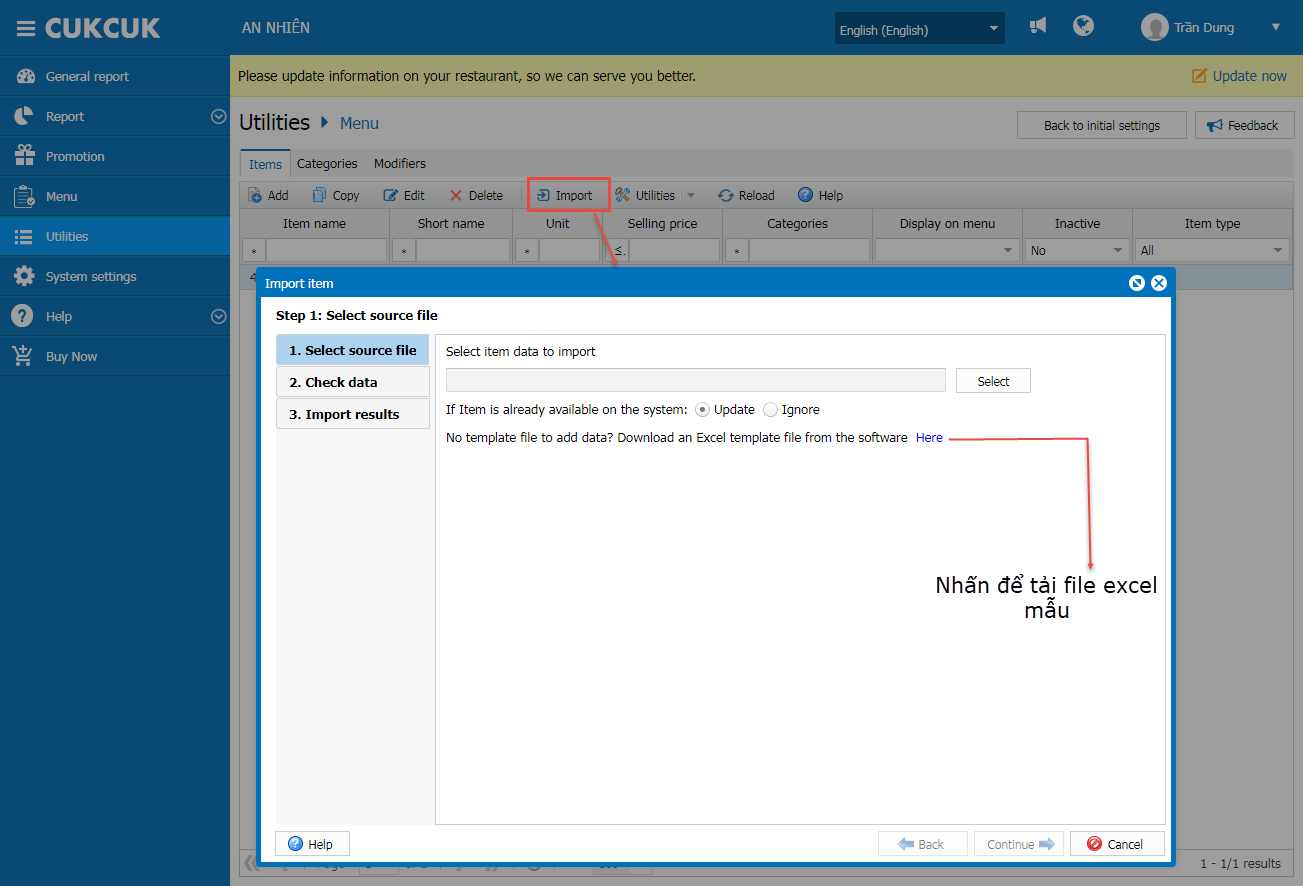
Step 2: Download the template Excel file provided by the software.
Step 3: Copy your restaurant’s menu list into the downloaded Excel template.
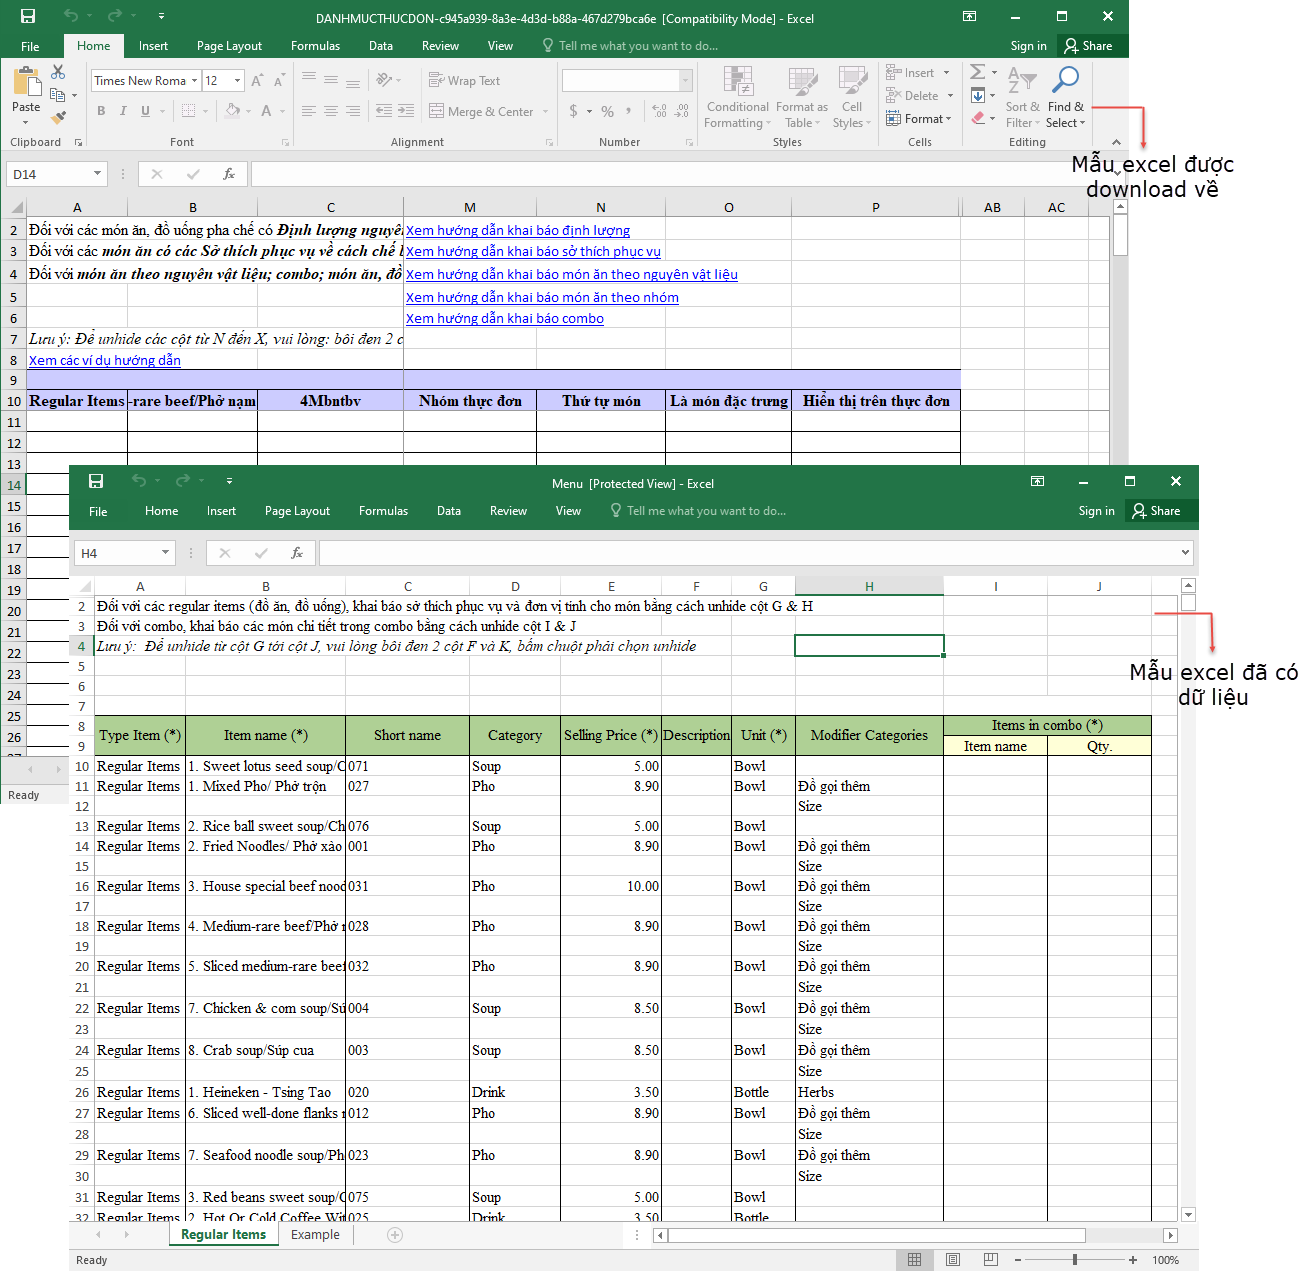
Refer to the sample data sheet in the Excel file for instructions on how to fill out the menu.
Step 4: Save and close the Excel file.
Step 5: On the getting started interface, select Import from Excel.
Step 6: Upload the completed Excel file to the software.
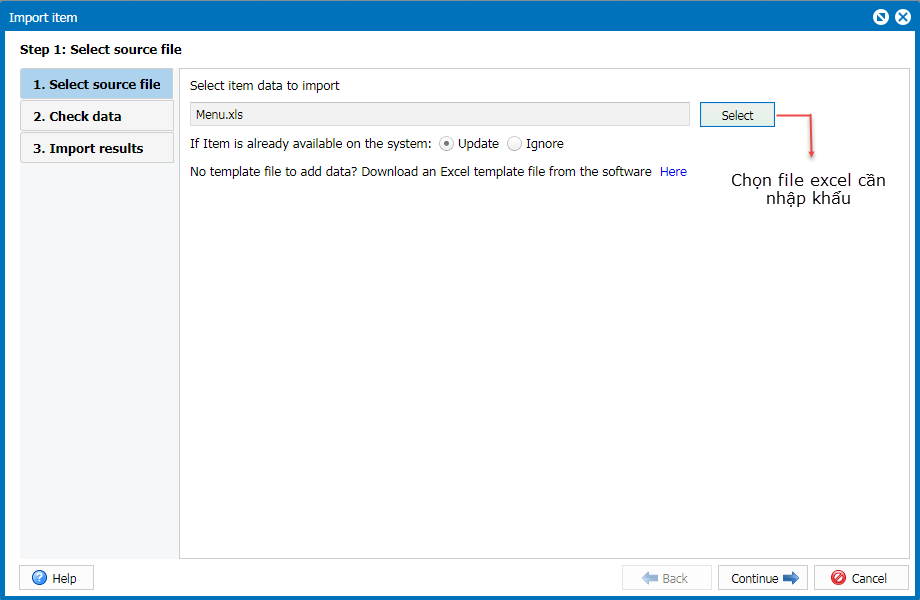
Note: If there are menu items in the Excel file with codes already exist in the system, choose one of the following actions:
- Select Update if you want to update the information in the software with the item data from the Excel file.
- Select Skip if you want to keep the existing information of the duplicate item in the software and not update it from the Excel file.
Step 7: Click Continue.
Step 8: Check how many items are valid and how many are invalid for import.
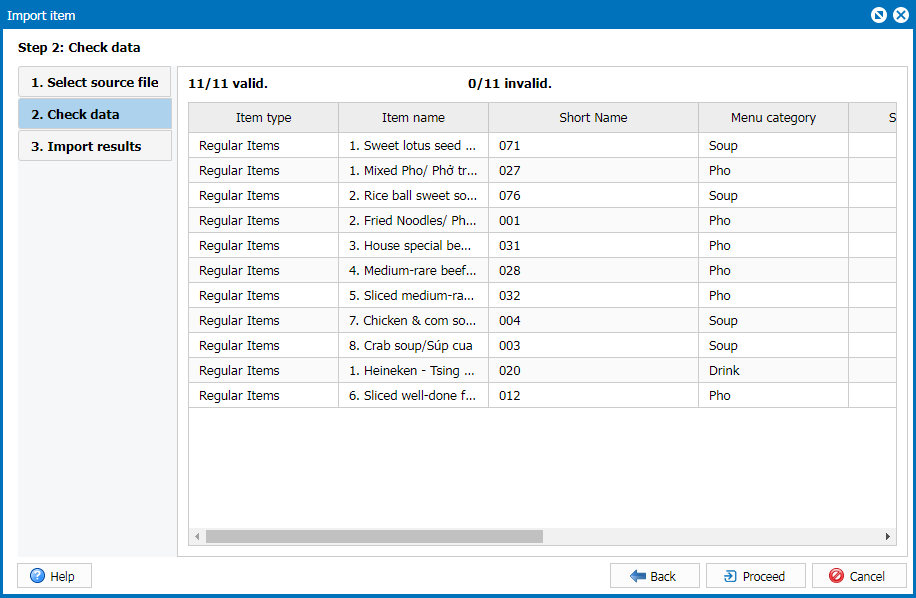
Step 9: Click Proceed → the system will import the valid items into the software and display the import result.
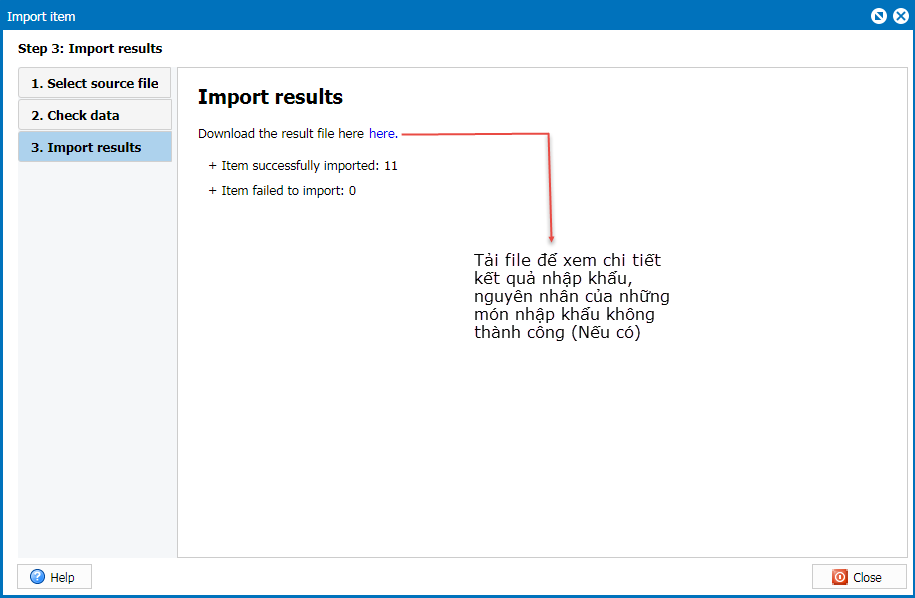
Step 10: Click Close.
Have a nice day!


