

I. Purpose
The self-service waitlist feature allows the restaurant to:
- Let guests add themselves to the waitlist without staff assistance.
- Reduce front-desk workload, eliminate data-entry mistakes, and show an accurate ETA (Estimated Time of Arrival) based on your table-turn and cleaning times.
- Enable POS staff to monitor, reorder, and send “Table ready” notifications directly from the POS device.
II. Instruction steps
1. Configure self-service waitlist on the dashboard
On the dashboard, go to Booking app → Settings → Waitlist settings.
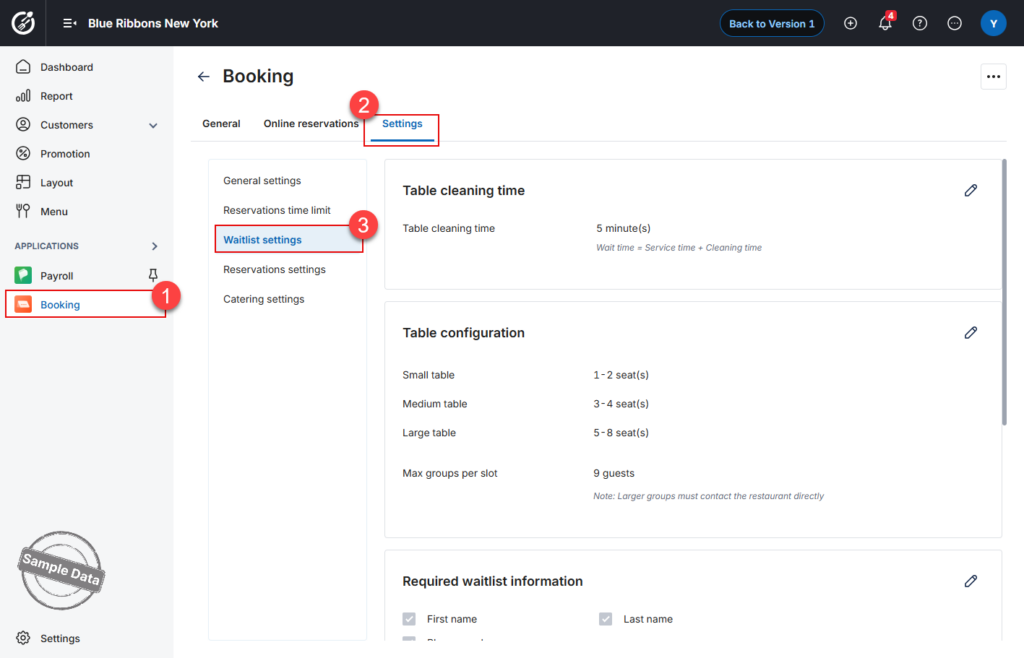
Configure:
- Table cleaning time: It will be added to every ETA calculation.
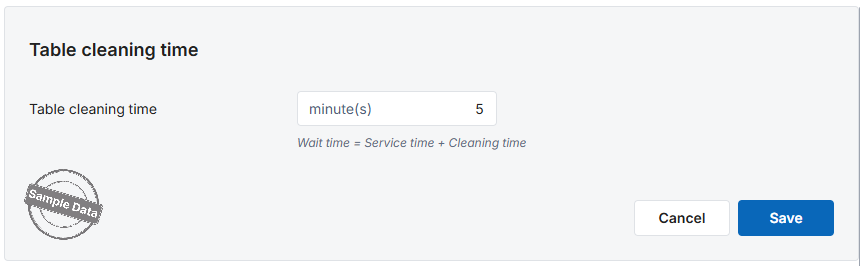
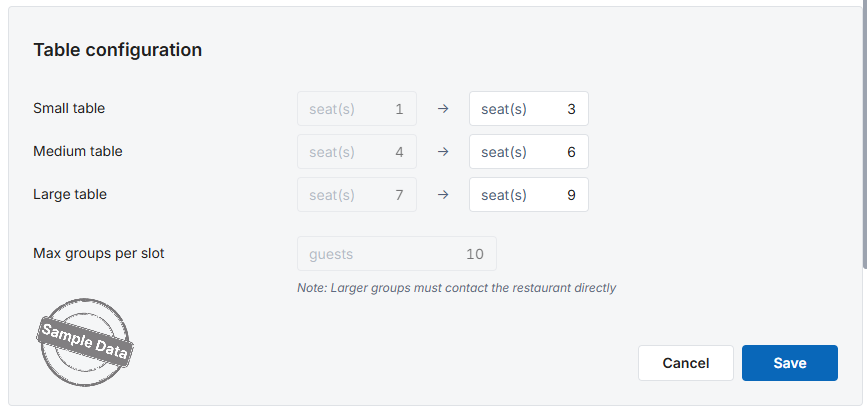
- Table configuration:
-
- Small table: Fixed min = 1 and Max must be ≥ 1 guest
-
- Medium table: Min = Small max + 1, Max can be edited and must be ≥ Min
-
- Large table: Min = Medium max + 1, Max can be edited and must be ≥ Min
-
- Max party per wait-slot: If a guest enters > Max, the tablet prompts them to call the host directly.
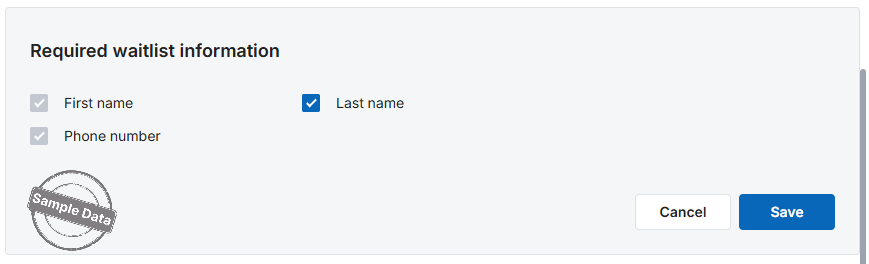
- Required information:
-
- First name: Mandatory, cannot be blank
-
- Last name: Optional, you can uncheck if not necessary
-
- Phone number: Mandatory, cannot be blank
- Suggested tags: Free text, comma-separated
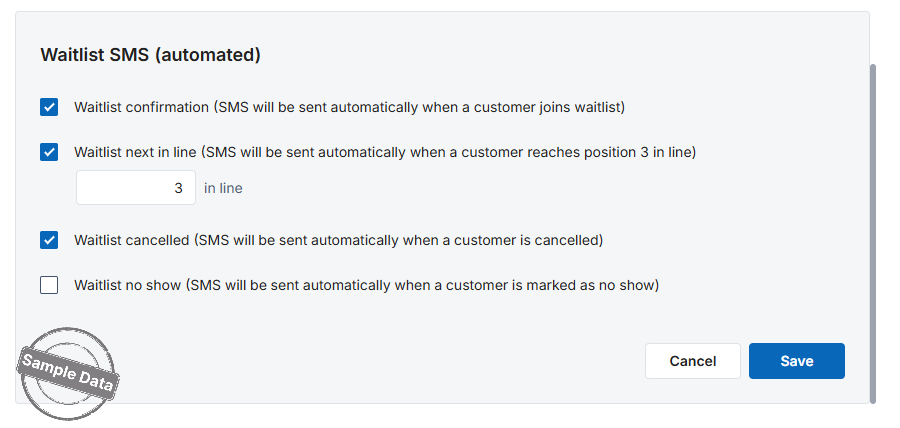
- Automatic SMS:
-
- Waitlist confirmation: Immediately after a guest joins the waitlist
-
- Waitlist next in line: When a party reaches a specific position in the queue
-
- Waitlist cancelled: When staff cancel a party’s entry
-
- Waitlist no show: When staff mark a party as No show
-
- Click Save.
2. Join waitlist (POS – Guest View)
Go to Waitlist app.
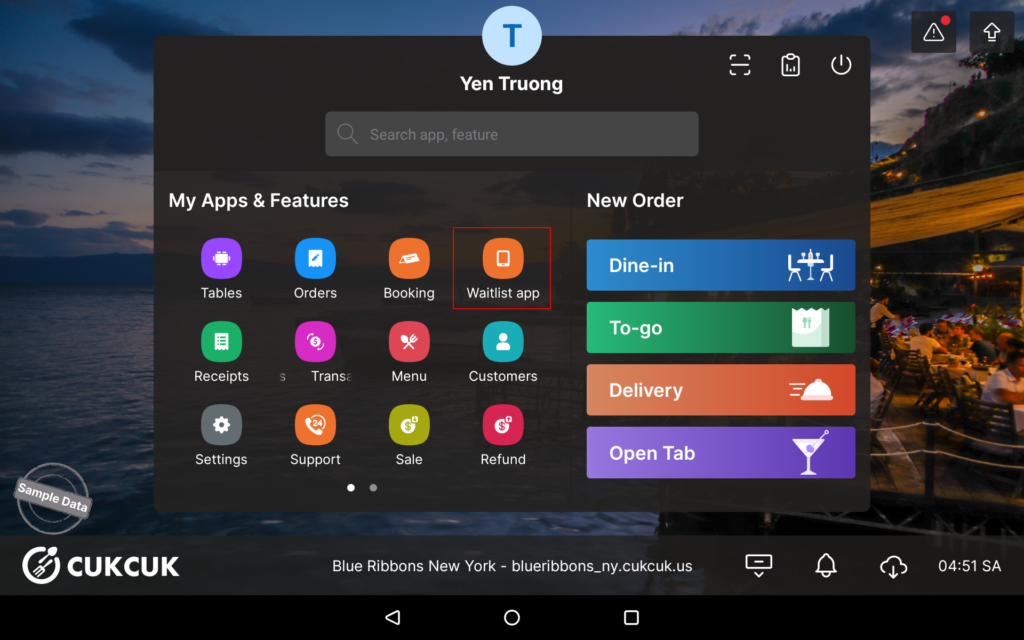
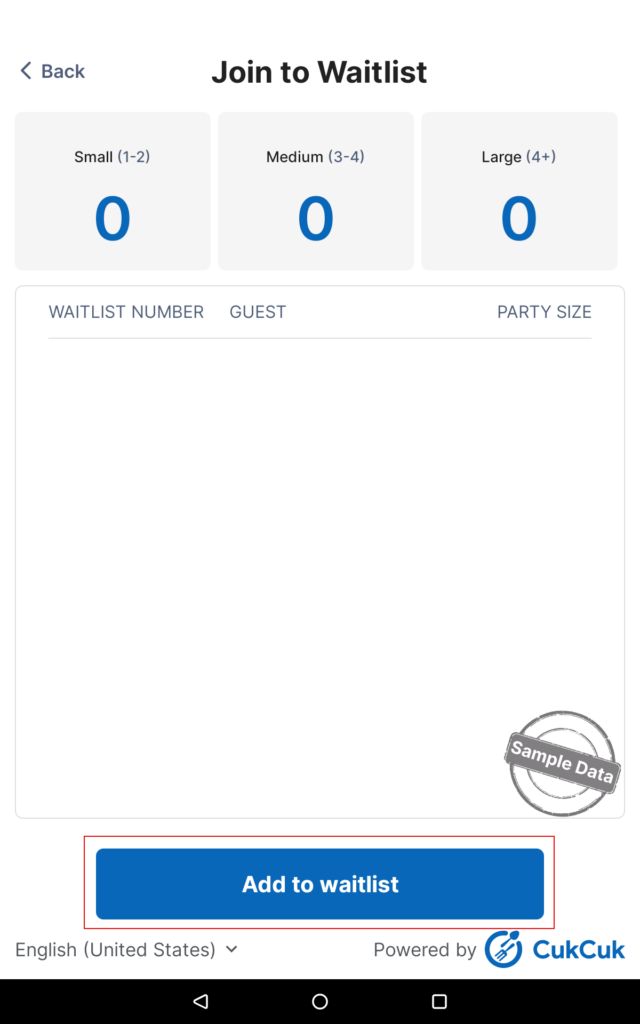
Click Add to waitlist.
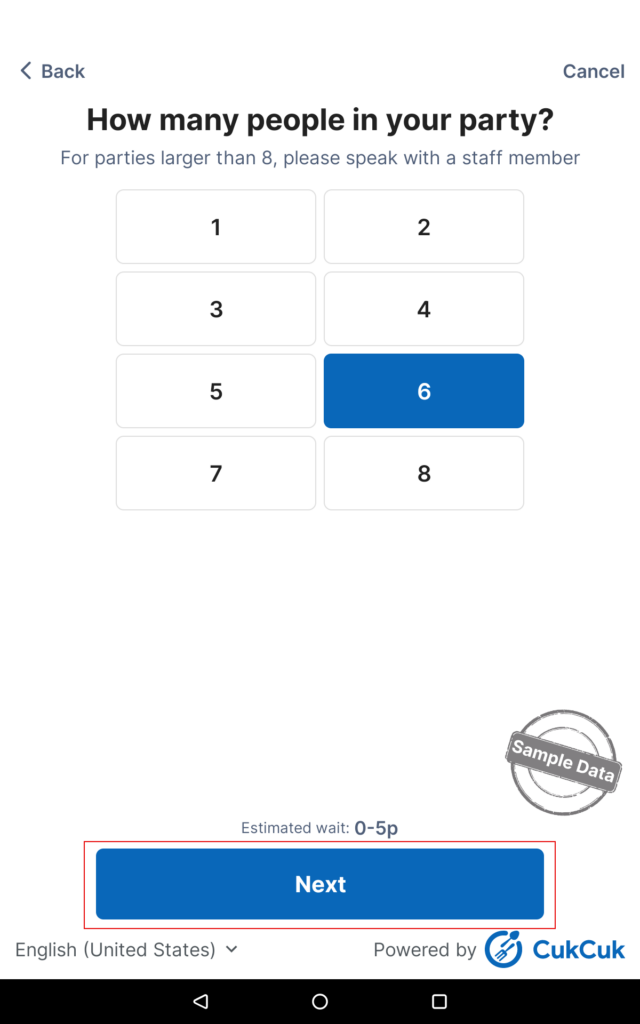
Answer the question about the party size. Click Next.
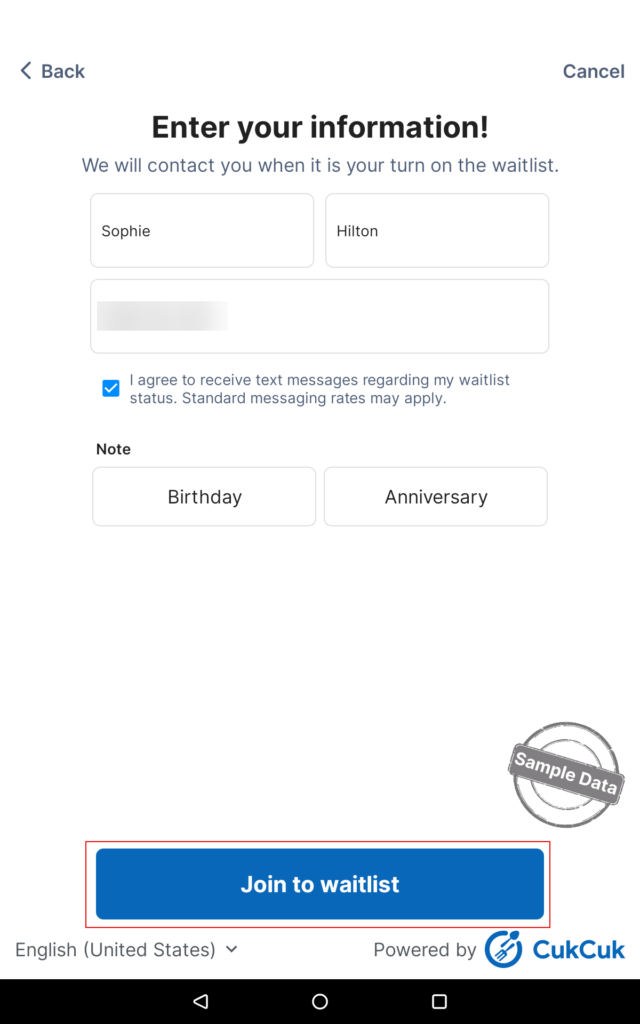
Fill in first name, last name, and phone number. Check the box “I agree…” and select a note if applicable. Click Joint waitlist.
Save the waitlist number.
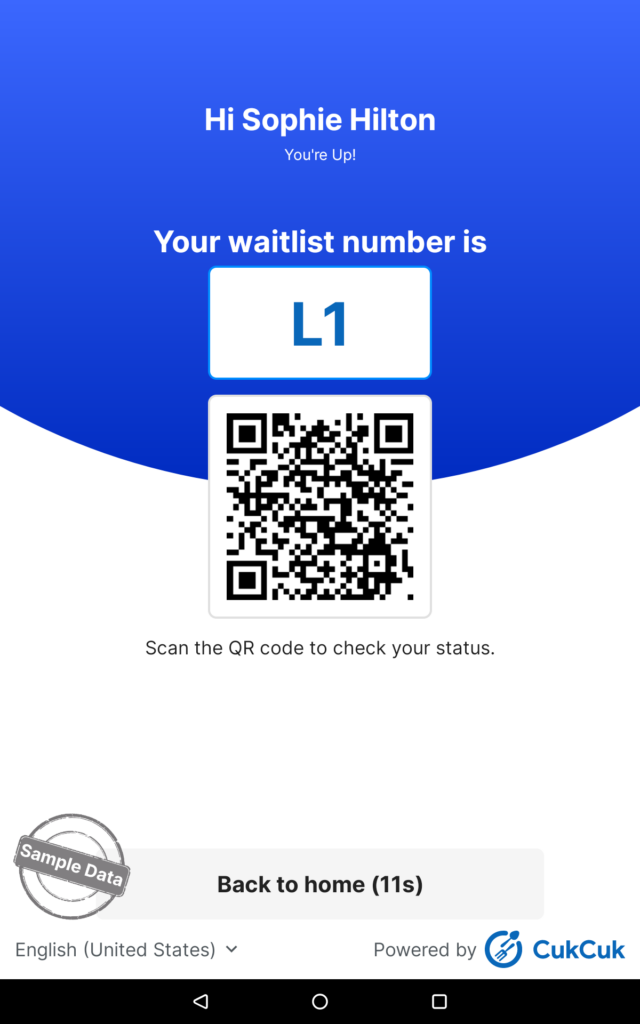
Have a nice day!


